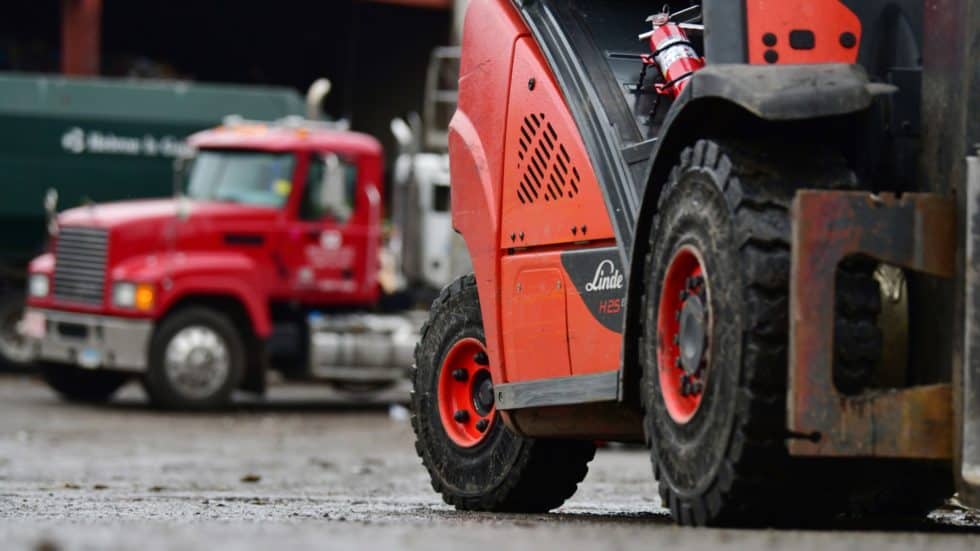
Regardless of your application, it is crucial to grease your equipment every week. Proper greasing will prolong the life of your equipment and major components, allowing you to stay on the job while keeping downtime to a minimum.
All manufacturers recommend a weekly greasing schedule for forklifts to reduce downtime and costly repairs. #HTXMaterialHandling Click To TweetHow do you properly grease your forklift components?
It can be challenging to know where all the grease points on a forklift are. Let’s take a look at which components need greasing properly.
- Chock the Wheels
- Steer Links & King Pins
- Steer-Axle Mount Pivot Pins
- U-Joints and Slip Yoke
- The Forks
- Upper Side Shift Bushings
- Lower Bearings
- Chain Pulleys
1) Chock the Wheels
Before starting greasing, ensure that you chock the wheels to prevent the forklift from moving.
2) Steer Links & King Pins
You’ll want to ensure that you’re pumping enough grease into the inner steer link so that you see the old grease come out. Next, do the same thing for the outer steer link. After this, the left upper king pin and the left lower king pin need greasing.
3) Steer-Axle Mount Pivot Pins
Next, you’ll want to grease the steer-axle mount pivot pins. Once the components are lubricated, make sure you wipe off any excess grease.
4) U-Joints and Slip Yoke
After this, move on to the Front and Rear U-Joints and the Slip Yoke on the drive shaft. These components are underneath the unit for most models, so use the best safety practices when performing greasing on them. Then grease the Cab Tilt Pins & Bushings, which are beneath the cab on near the front and towards the back. Ensure that you grease both of them.
5) The Forks
Lubricate the Upper Fork Bar and the Lower Fork Bar to reduce friction when transporting loads. Some forks have grease fittings at the top of the forks, so you’ll want to deposit the grease into these fittings instead. Once done, move the forks to the opposite side and grease them again. This will ensure that there is a well-distributed coat of grease across the forks. A small painters brush works well to spread the grease, otherwise, you can just use the greaser itself to distribute it.
6) Upper Side Shift Bushings
These will typically have a grease fitting above them. Ensure that you grease both the right and the left shift bushings, then put a little grease on the bars themselves. You won’t be able to see the old grease exit the bearings, but you should be able to hear it. After this, move on to the Outer Tilt Cylinder Pin & Bushings and the Barrel-end Tilt Cylinder Pin & Bushings on both sides of the machine. Make sure you pump grease into each of them until you see the old grease coming out.
7) Lower Bearings
Now that these components have been greased, raise and lower the forks and move them from side to side. This will spread the grease and ensures a more even coating. Once the forks have been raised, you can access the Lower Carriage Bearings and Lower Mast Bearings.
Pro Tip: Whenever you are working under the forks of the machine, you must be using certified chains that are rated for the required load to hold the forks in place.
8) Chain Pulleys
Once these lower components have been greased, it’s time to move on to the Chain Pulleys, also known as Chain Shivs, at the top of the mast. You’ll also want to grease the Lift Chains themselves to greatly reduce the amount of friction on them, keeping wear and tear to a minimum. Hold a piece of cardboard behind the chain to block any excess spray from getting onto the windshield.
Keeping Your Forklift in Good Shape
By following this weekly forklift greasing schedule, you’ll experience less downtime, improved performance, and have an overall enhanced lift truck experience.
Join the conversation for more forklift maintenance tips.

